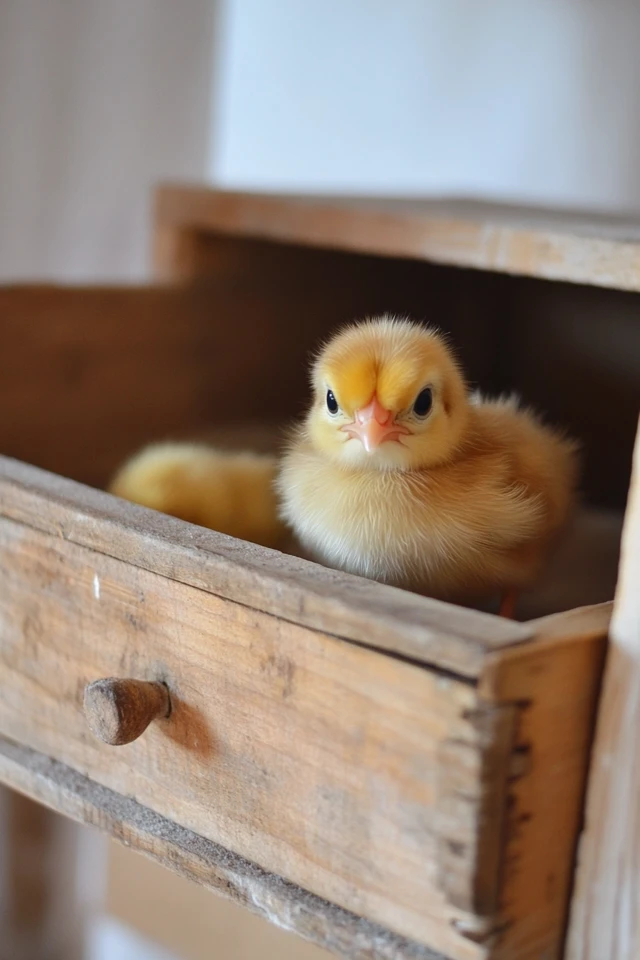
If you’re raising baby chicks, a brooder box is essential for keeping them warm, safe, and comfortable during their first few weeks. Instead of buying an expensive brooder, you can easily DIY a brooder box using affordable and readily available materials.
Here are 10 DIY brooder box ideas, plus step-by-step instructions on how to set one up for your baby chicks!
🐣 What is a Brooder Box?
A brooder box is a warm and secure space where baby chicks live until they are fully feathered (around 6-8 weeks old). It should include:
✔ Proper ventilation for fresh air
✔ Heat source (like a heat lamp or heating plate)
✔ Soft bedding (pine shavings, paper towels, or straw)
✔ Food and water containers
🐣 DIY Brooder Box Ideas
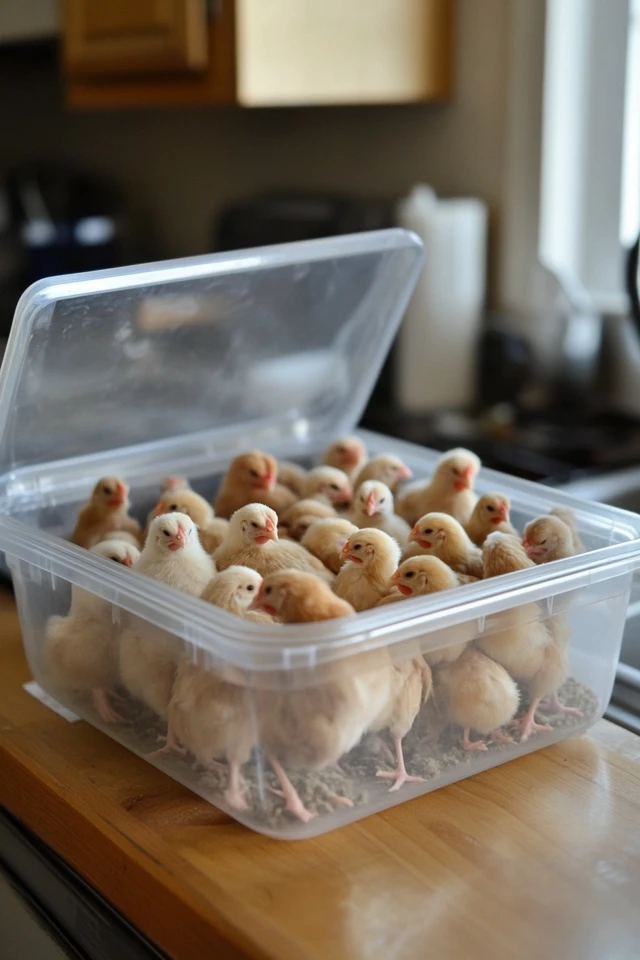
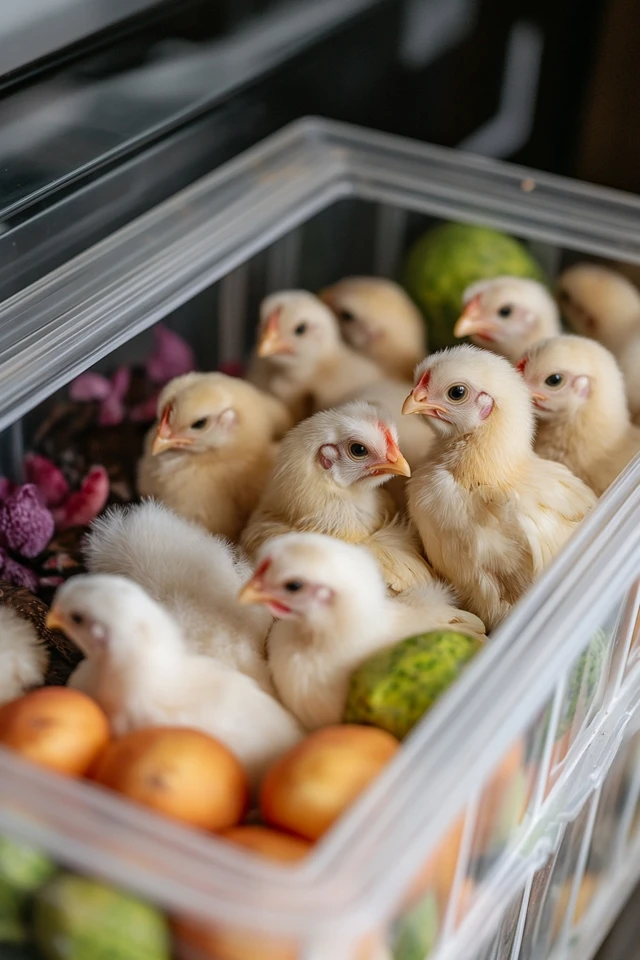
1. Plastic Storage Bin Brooder – Budget-Friendly & Easy
✔ Best for: Small batches of chicks (up to 6)
How to Make It:
- Use a large plastic storage tote (at least 50 gallons).
- Cut a ventilation hole in the lid and cover it with hardware cloth.
- Add bedding, a heat lamp, and feeders.
✔ Pros: Cheap, lightweight, and easy to clean.
❌ Cons: Limited space as chicks grow.
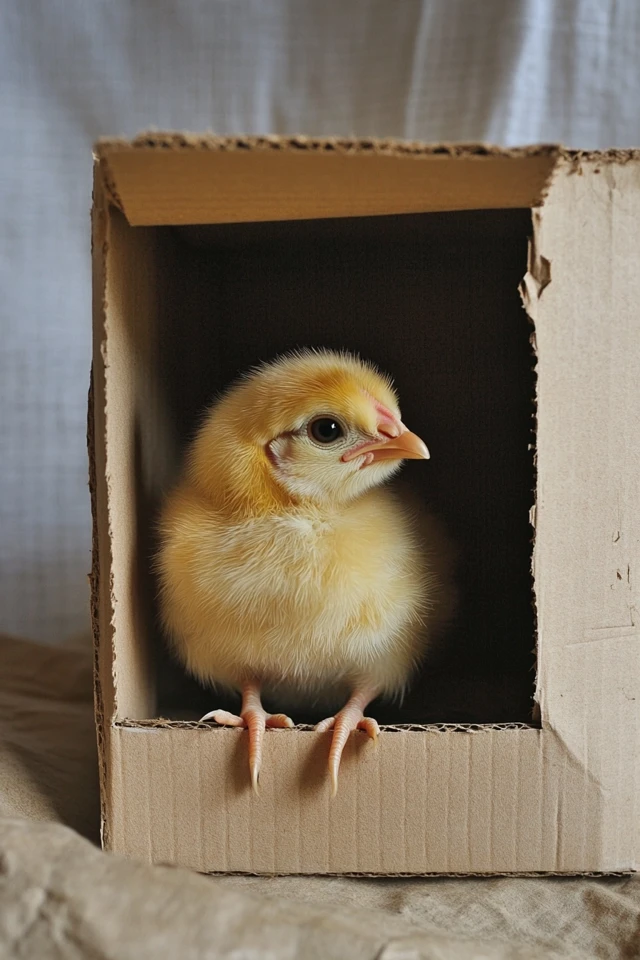
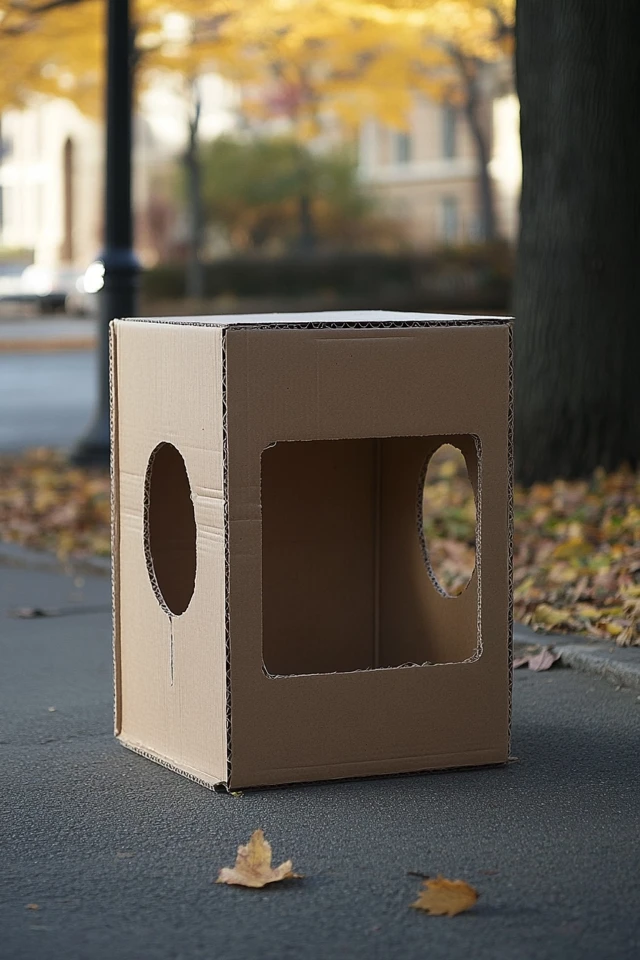
2. Cardboard Box Brooder – Temporary & Recyclable
✔ Best for: A quick, temporary solution
How to Make It:
- Use a large cardboard box (sturdy and tall enough to prevent chicks from jumping out).
- Cut ventilation holes on the sides.
- Line with bedding and set up a heat lamp or heating plate.
✔ Pros: Free and easy to replace.
❌ Cons: Not waterproof and needs frequent changing.
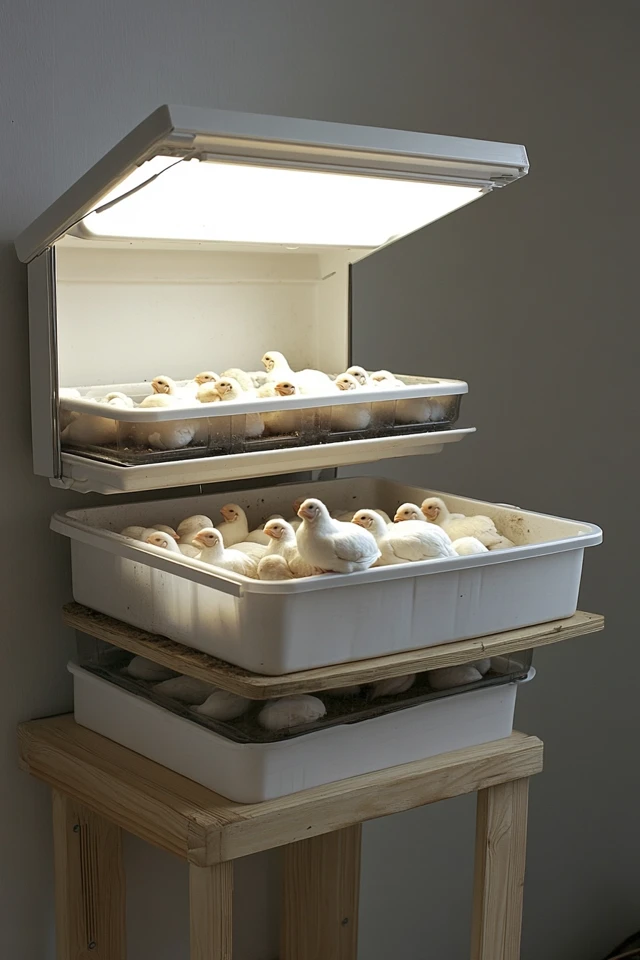
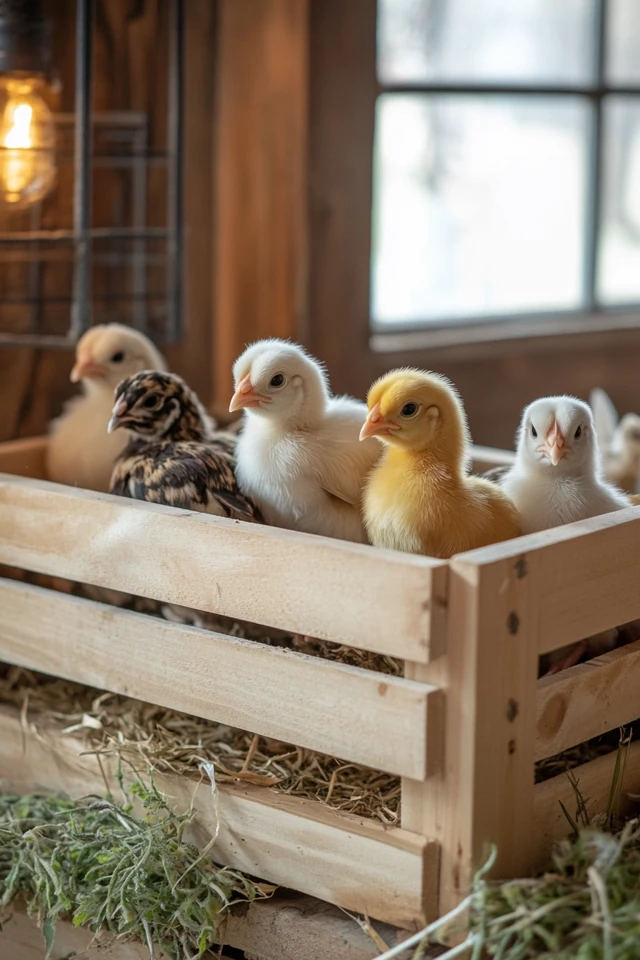
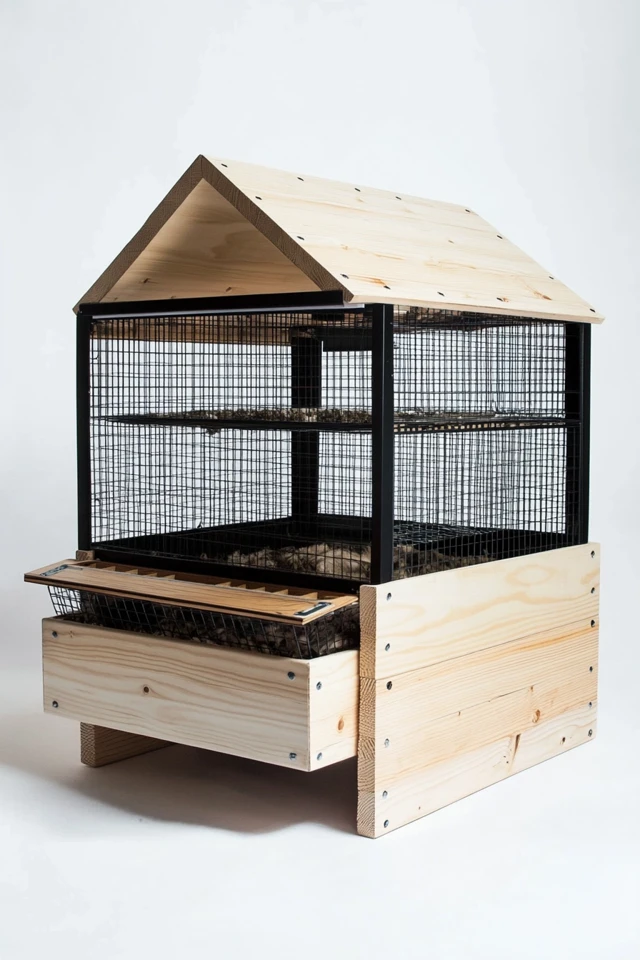
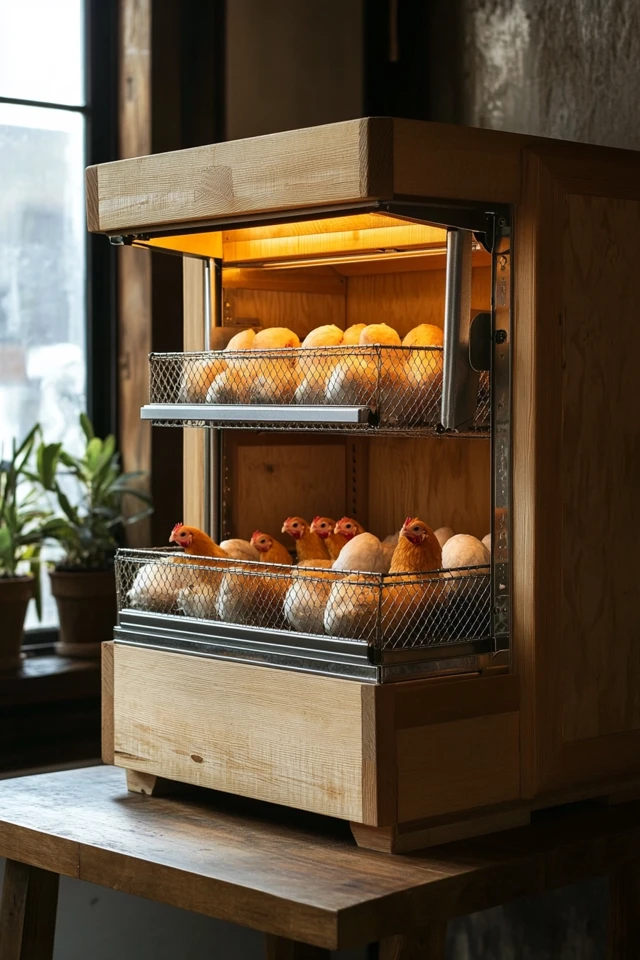
3. Wooden Brooder Box – Sturdy & Long-Lasting
✔ Best for: A more permanent brooder setup
How to Make It:
- Build a rectangular box using plywood or wooden boards.
- Attach hinged wire mesh on top for ventilation and easy access.
- Add legs or caster wheels for mobility.
✔ Pros: Durable, spacious, and customizable.
❌ Cons: Requires tools and effort to build.


4. Kiddie Pool Brooder – Spacious & Affordable
✔ Best for: Large batches of chicks (10+ chicks)
How to Make It:
- Use a plastic kiddie pool as the base.
- Wrap chicken wire or mesh fencing around the edges to prevent escape.
- Place a heat lamp or heating plate on one side for warmth.
✔ Pros: Large and cheap.
❌ Cons: Difficult to clean and move.


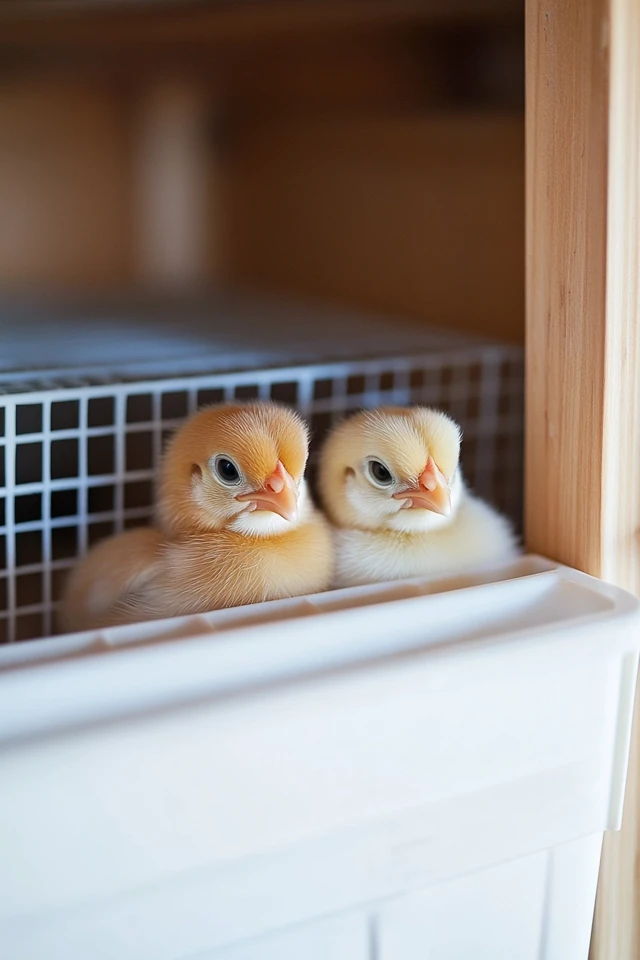
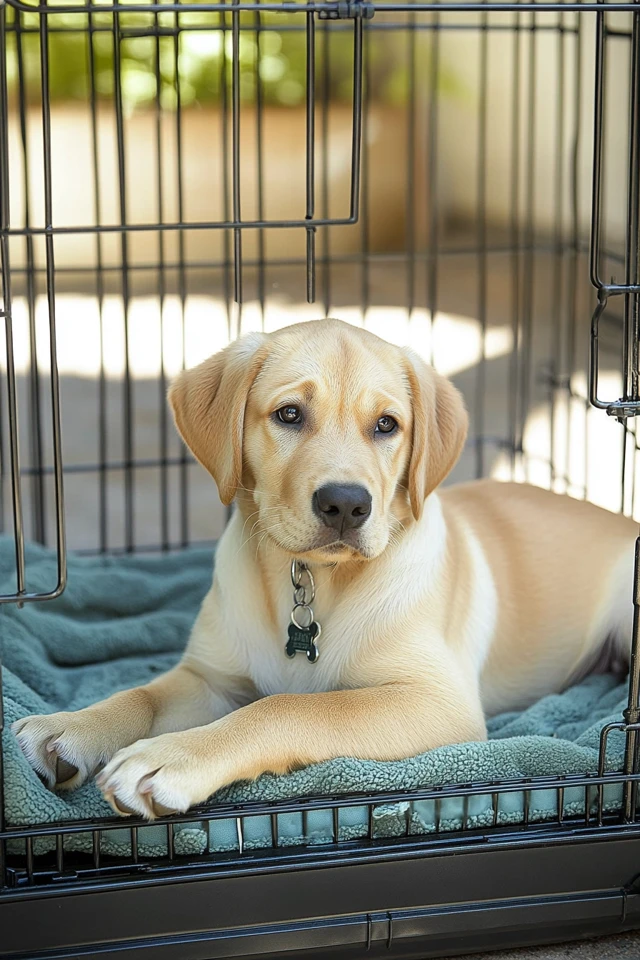
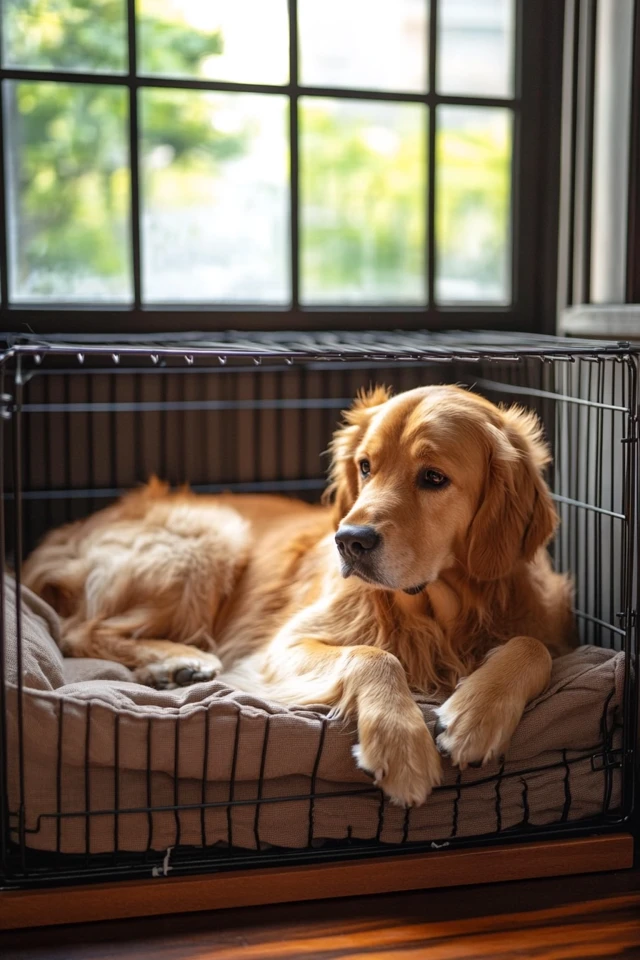
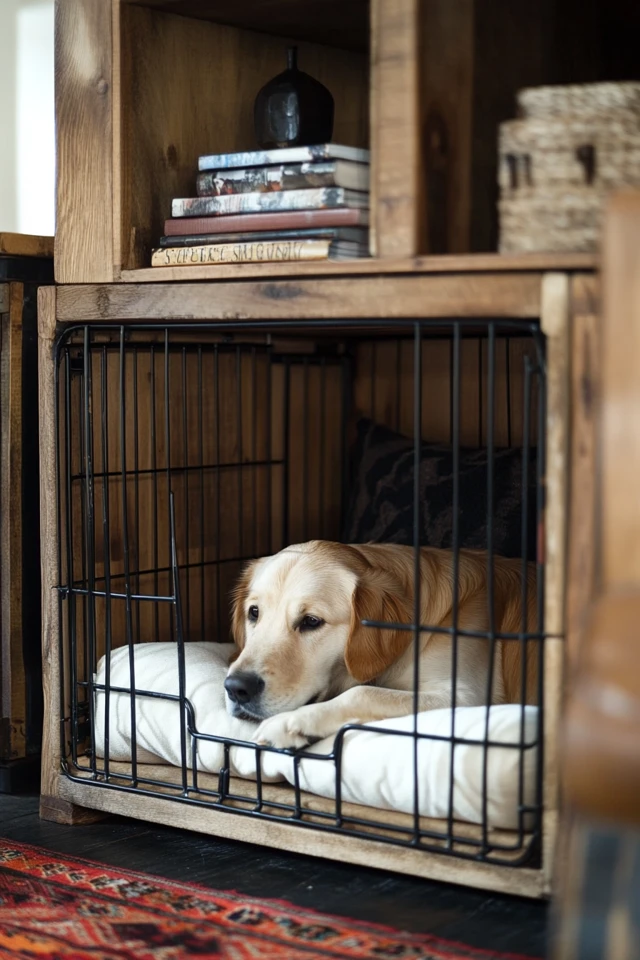
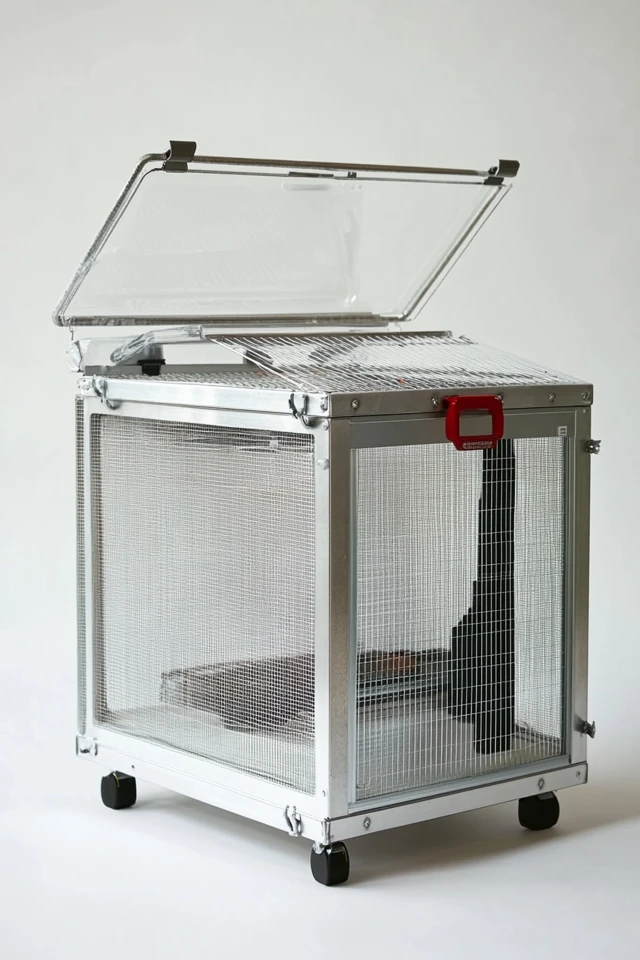
5. Dog Crate Brooder – Secure & Reusable
✔ Best for: A safe, predator-proof brooder
How to Make It:
- Use a large wire dog crate.
- Line the bottom with cardboard or plastic to contain bedding.
- Cover the sides with hardware cloth to prevent drafts.
- Place a heat lamp or heating plate inside.
✔ Pros: Sturdy, good airflow, and easy access.
❌ Cons: Can be drafty if not covered properly.

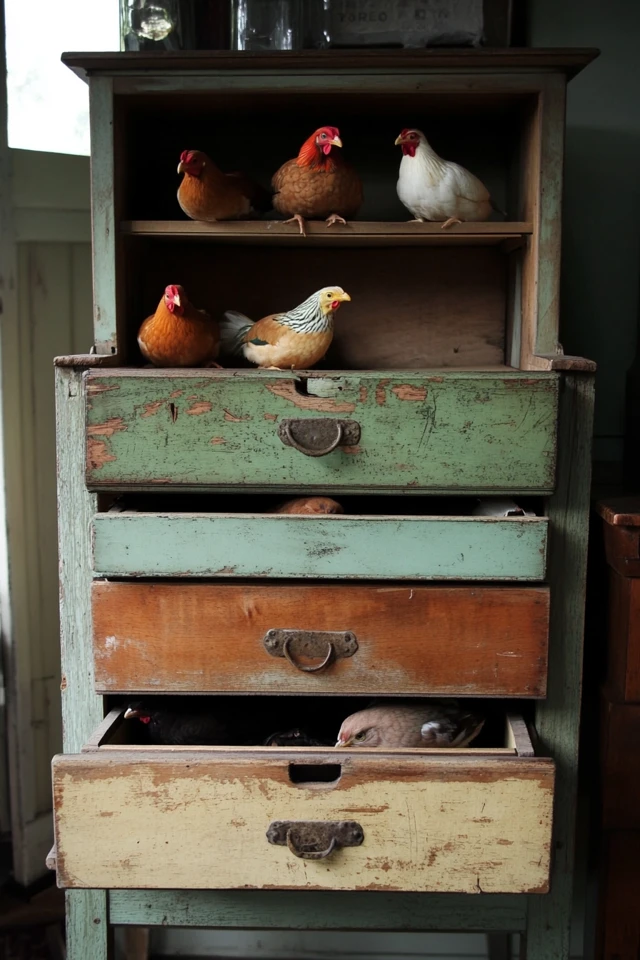
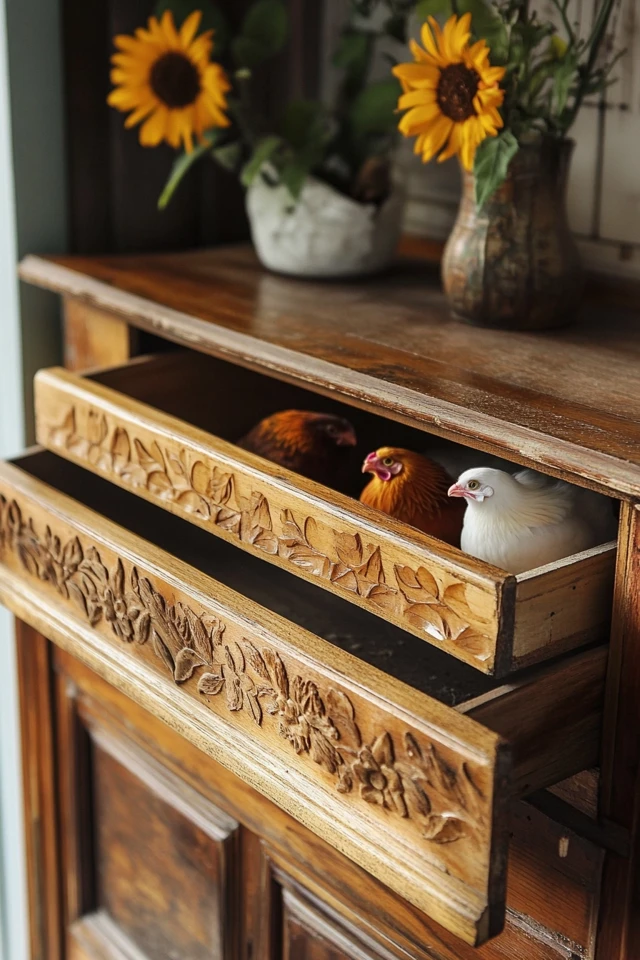
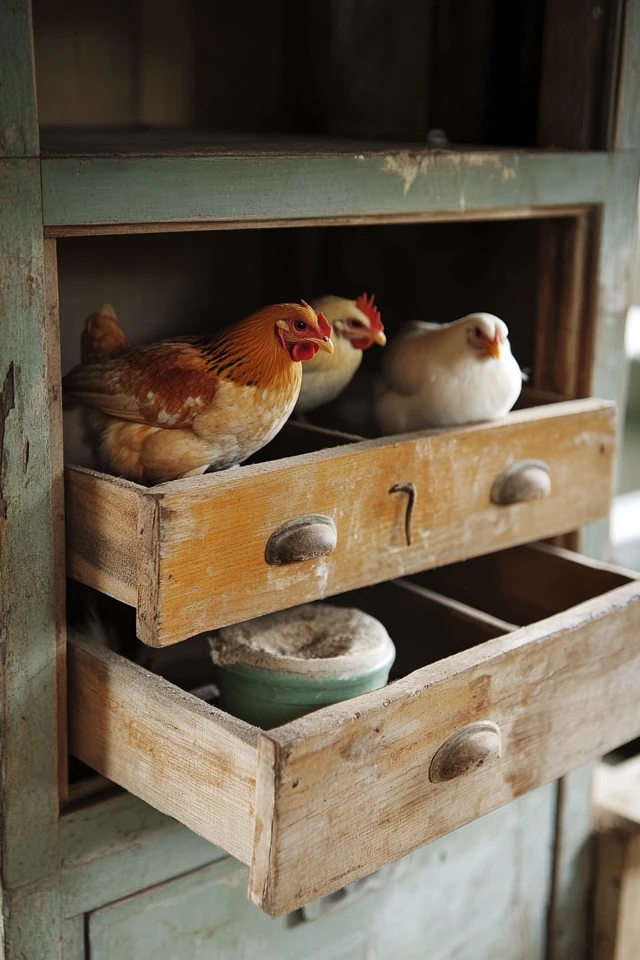
6. Dresser Drawer Brooder – Upcycled & Eco-Friendly
✔ Best for: Repurposing old furniture
How to Make It:
- Remove the drawers from an old dresser and lay it flat.
- Attach wire mesh over the top for ventilation.
- Line with bedding and set up heat sources.
✔ Pros: Sustainable and stylish.
❌ Cons: Not easy to move.
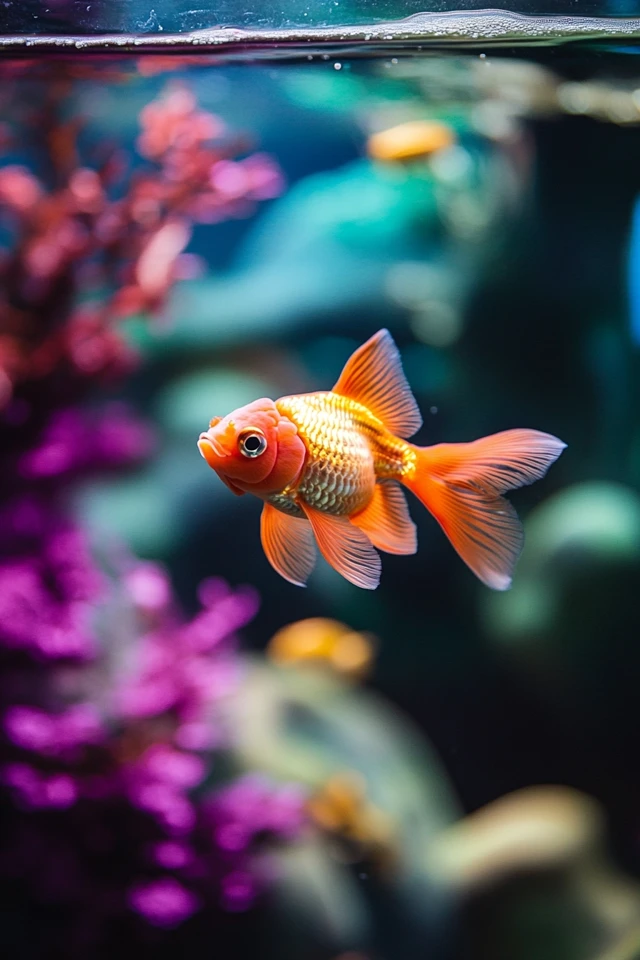
7. Aquarium or Glass Tank Brooder – Great Visibility
✔ Best for: Watching chicks grow up close
How to Make It:
- Use a large glass fish tank or reptile enclosure.
- Cover the top with mesh or wire for ventilation.
- Add bedding, feeders, and a heating source.
✔ Pros: Allows for easy chick-watching.
❌ Cons: Hard to regulate temperature and airflow.

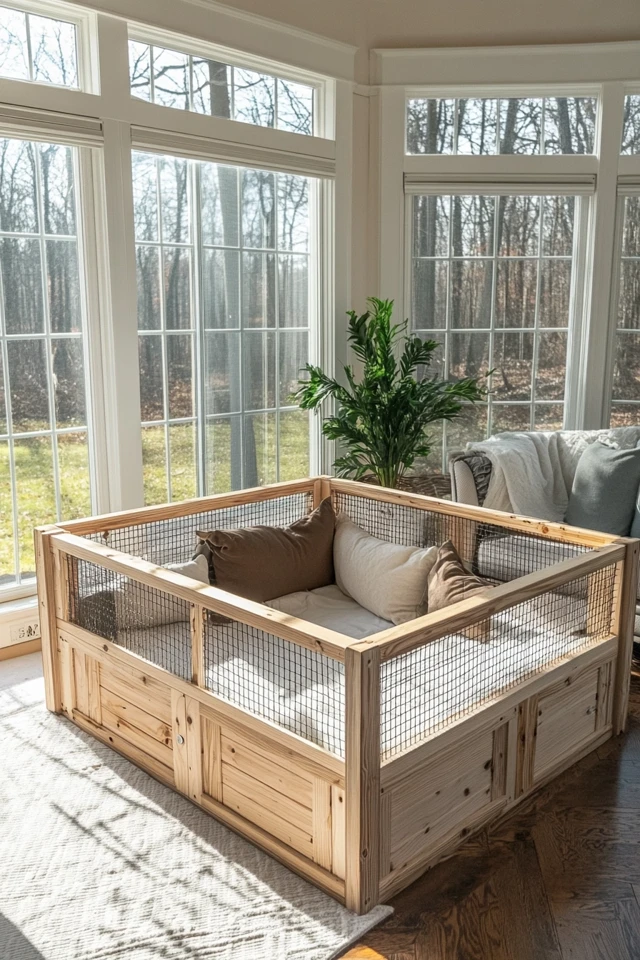
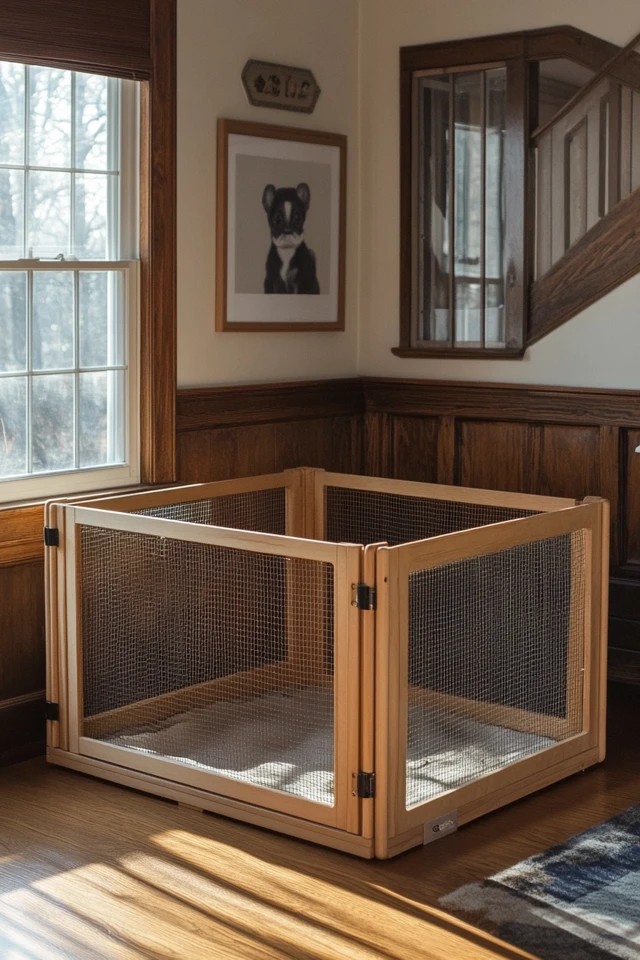
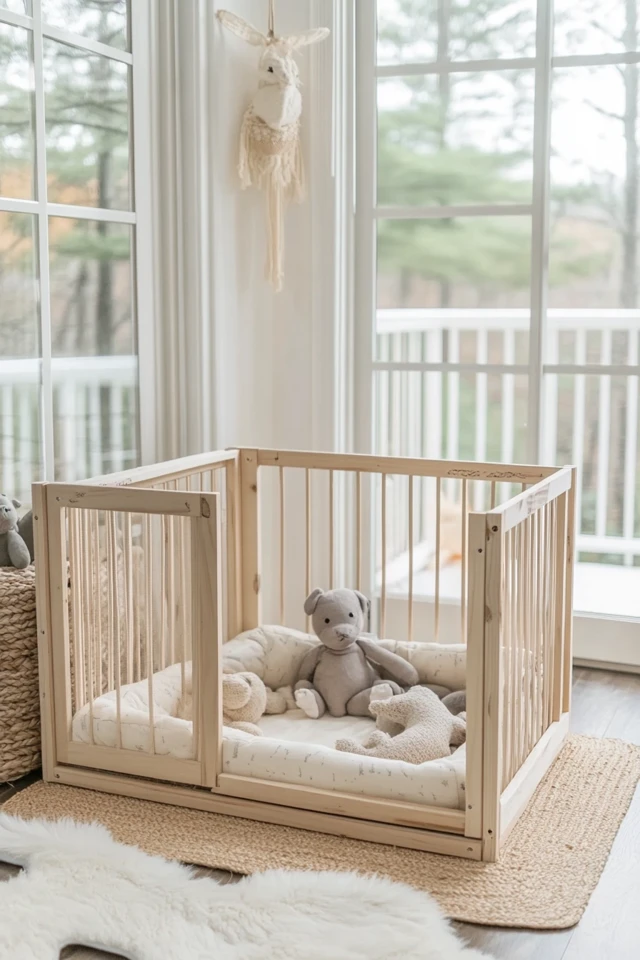
8. Wooden Playpen Brooder – Spacious & Expandable
✔ Best for: Keeping chicks in a large, open space
How to Make It:
- Use wooden panels or baby playpen fencing.
- Wrap the sides with hardware cloth or chicken wire.
- Secure a heat source on one side.
✔ Pros: Easy to access and clean.
❌ Cons: Requires a stable, draft-free indoor space.
9. Tote & Wire Lid Brooder – Hybrid Design
✔ Best for: A secure and portable option
How to Make It:
- Take a large plastic tote and cut out a section of the lid.
- Attach hardware cloth or mesh over the opening for airflow.
- Add a heating lamp and feeding station inside.
✔ Pros: Lightweight, affordable, and breathable.
❌ Cons: Chicks may outgrow it quickly.
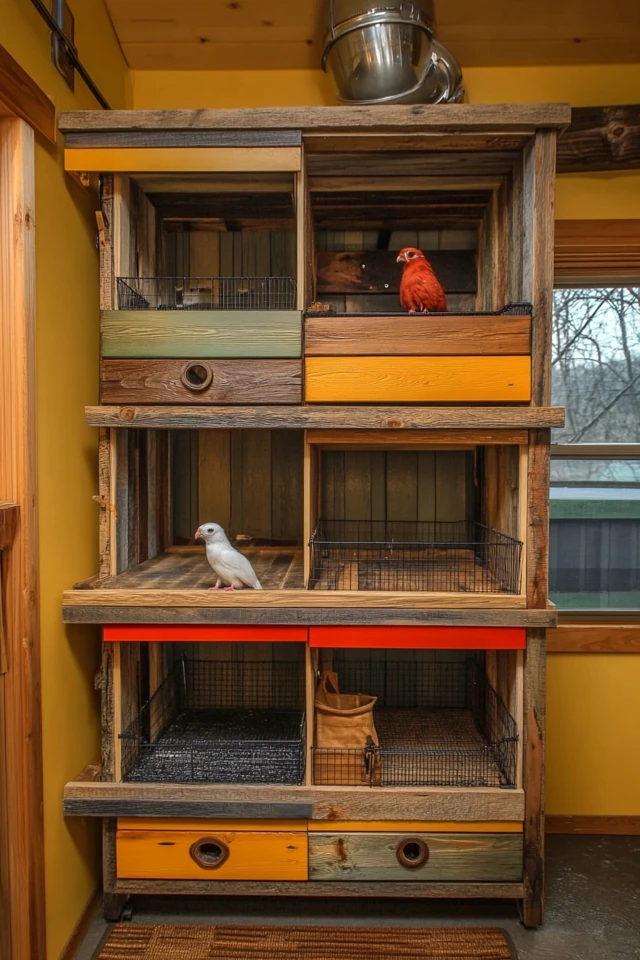
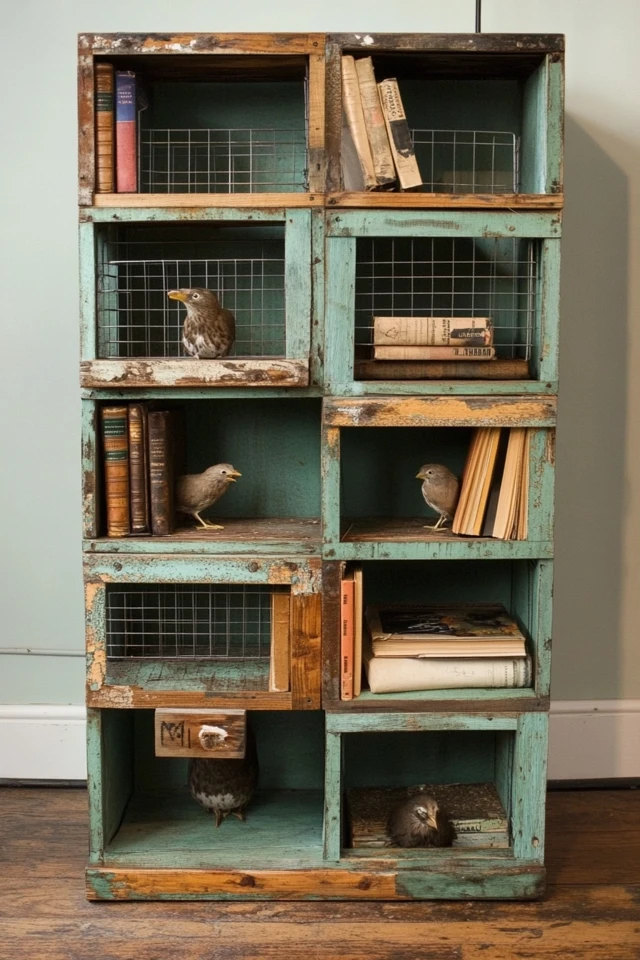
10. Repurposed Bookshelf Brooder – Multi-Level & Functional
✔ Best for: Space-saving solutions
How to Make It:
- Lay an old bookshelf on its back and remove shelves if needed.
- Cover the top with wire mesh.
- Add bedding, feeders, and heating sources.
✔ Pros: Great for limited spaces and upcycling old furniture.
❌ Cons: Not easy to move.

🐣 Essential Brooder Box Setup Checklist
✔ Heat Source:
- Use a heat lamp (with a red bulb) or a chick heating plate.
- Keep one side of the brooder warm (~95°F for the first week, lowering by 5°F each week).
✔ Bedding:
- Use pine shavings, paper towels, or straw (avoid newspaper as it can be slippery).
✔ Food & Water:
- Provide a chick feeder with starter feed.
- Use a shallow water dish with marbles or rocks to prevent drowning.
✔ Ventilation & Safety:
- Make sure the brooder has proper airflow without being drafty.
- Use secure mesh or wire tops to protect chicks from pets or predators.
✔ Size Consideration:
- Each chick needs at least ½ square foot of space in the brooder.
- Upgrade to a larger brooder as they grow.
🐣 Final Tips for a Successful Brooder Box
✔ Keep it clean – Replace bedding regularly to prevent odors and bacteria.
✔ Monitor chick behavior – If they huddle together, they’re cold; if they avoid the heat source, it’s too hot.
✔ Provide enrichment – Add small perches or toys to keep chicks entertained.
✔ Keep predators away – If outdoors, ensure the brooder is covered and secure.
With these DIY brooder box ideas, you can create a safe, warm, and happy space for your baby chicks without spending a fortune. Which brooder design will you try? Let me know! 🐥✨